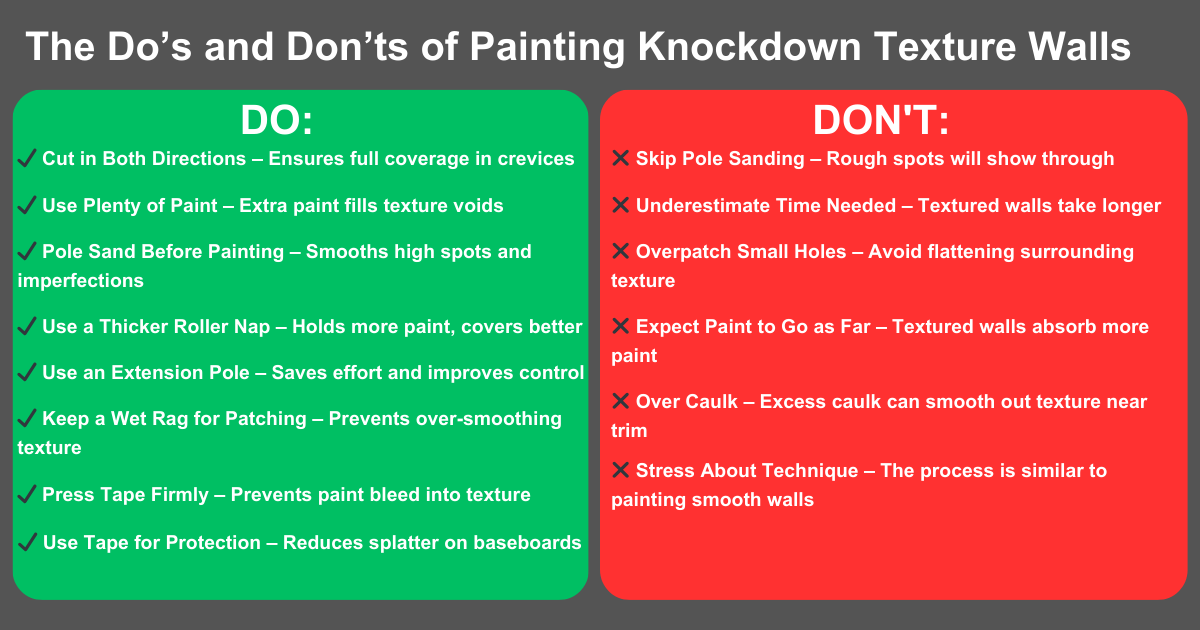
The Do’s and Don’ts of Painting Textured Walls
Painting textured walls, especially those with a knockdown finish, presents a unique set of challenges. While the process is similar to painting smooth drywall, there are important considerations to ensure a professional-looking result. Whether you're a DIY homeowner or a seasoned pro, following these do’s and don’ts will make your painting project more efficient and successful. Be sure to check out the FAQ section at the end for answers to common questions about painting textured walls.
The Do’s of Painting Knockdown Texture Walls

✅ Cut in Both Directions
When using a brush to cut in along edges and corners, work the paint into the crevices by brushing in both directions. This technique ensures full coverage and crisp, straight lines along baseboards, ceilings, and trim. See an example and learn how to cut in both directions here.
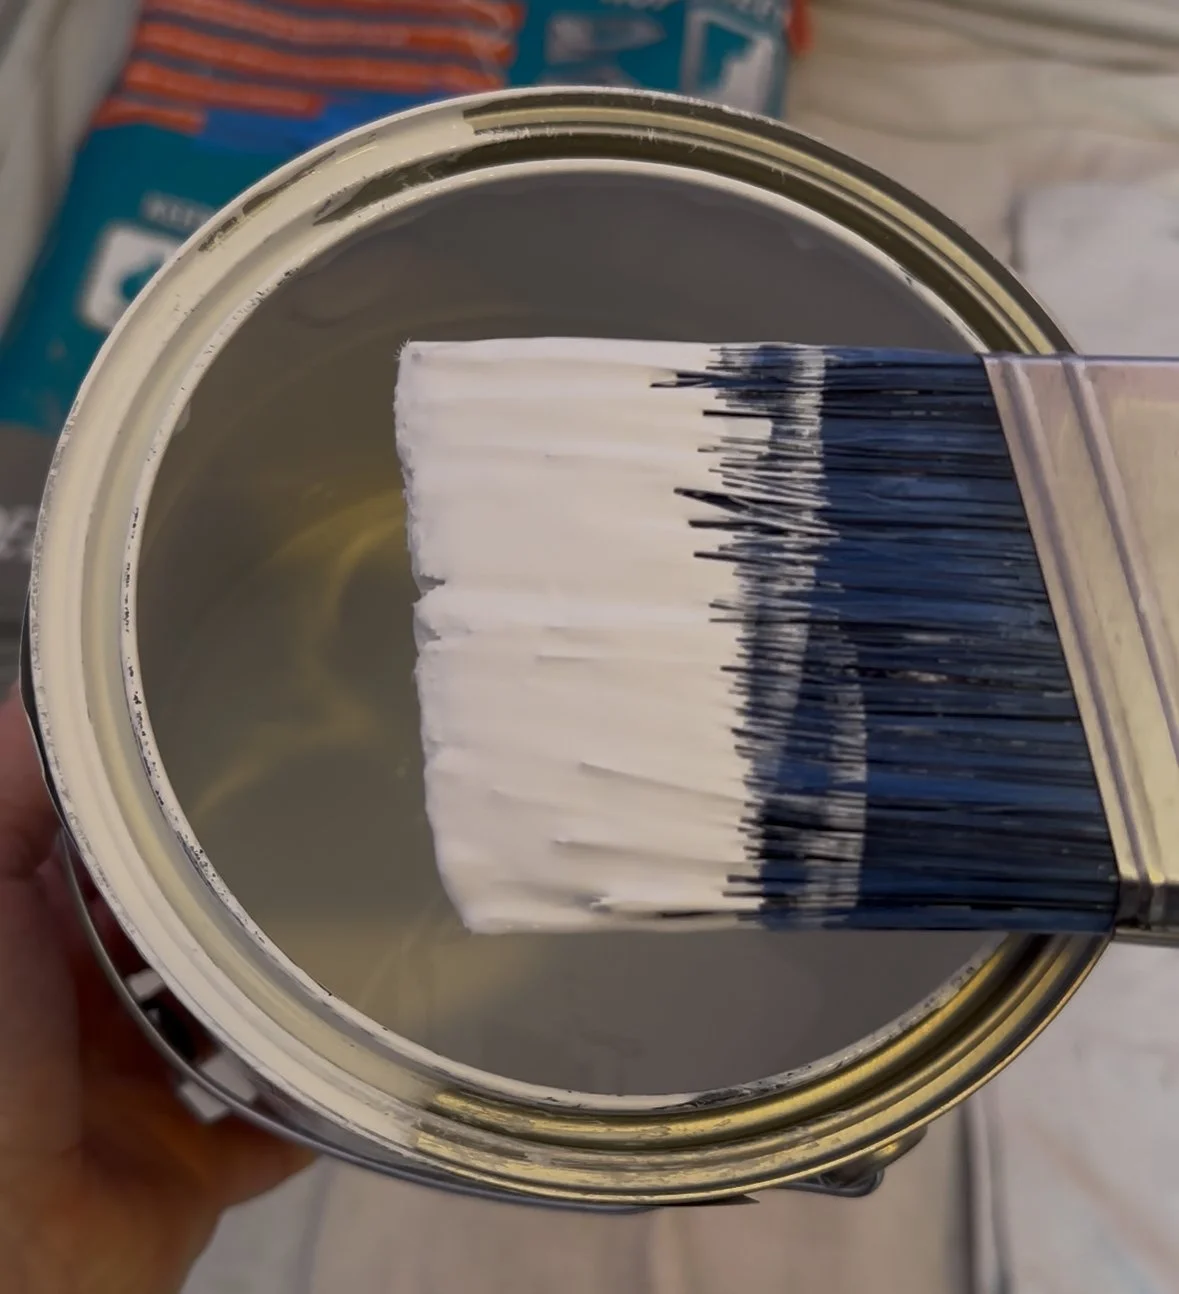
✅ Use Plenty of Paint
Textured walls have more surface area than smooth walls, requiring extra paint to cover effectively. Load your brush generously to help fill the voids and achieve even coverage without excessive touch-ups. Learn how to dip your paintbrush and load it with paint here.
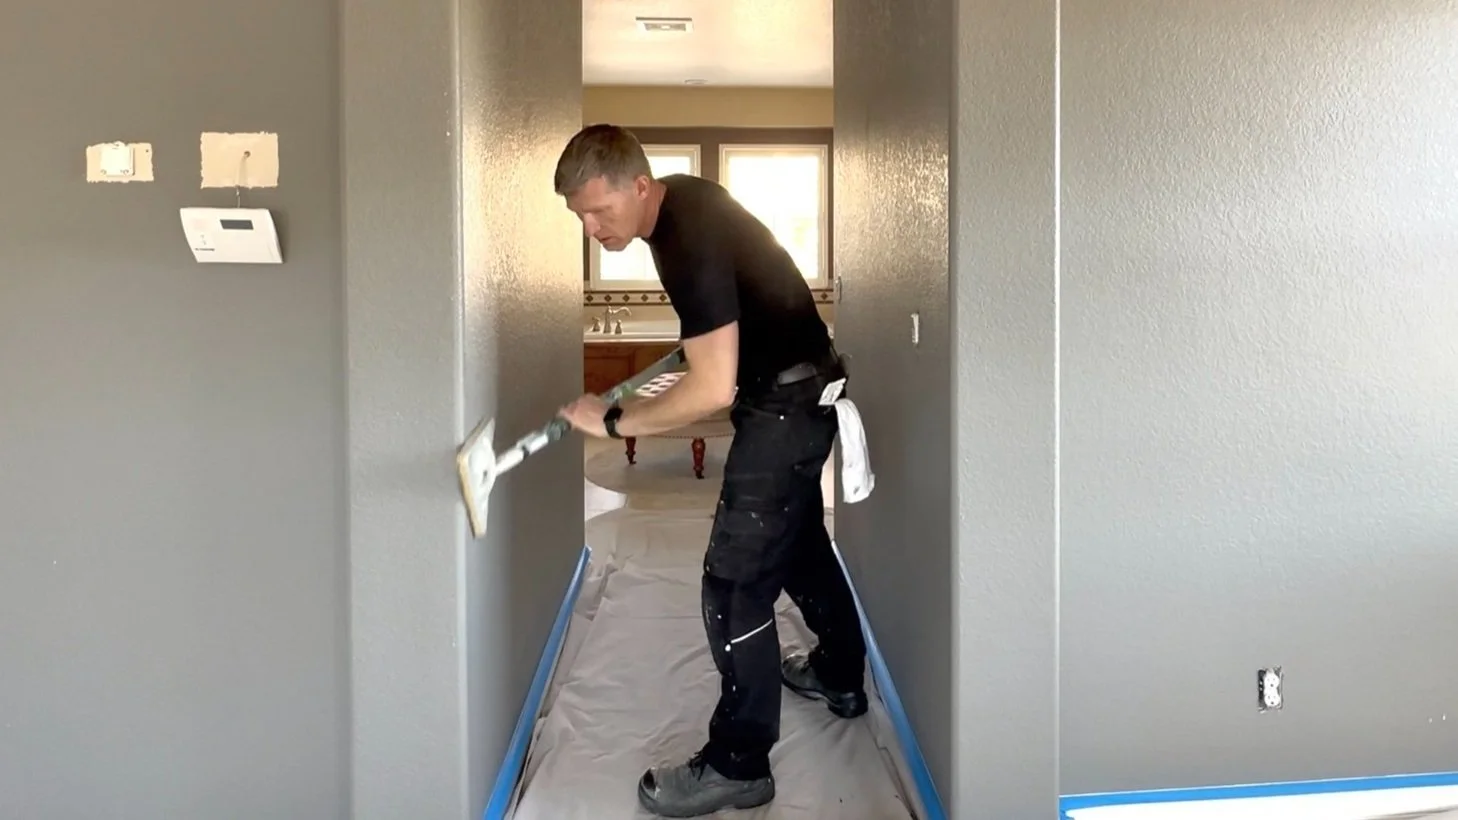
✅ Pole Sand Before Painting
Even textured walls can have imperfections, high spots, and stray drywall fibers that become more noticeable once painted. A quick pole sanding with a medium-grit sandpaper helps smooth these minor flaws for a cleaner finish.

✅ Use a Thicker Roller Nap
Opt for a 3/4-inch roller nap to ensure better coverage. The thicker nap holds more paint and helps push it into the texture with minimal effort, reducing the likelihood of missed spots. Watch a 3/4” roller nap in action here.
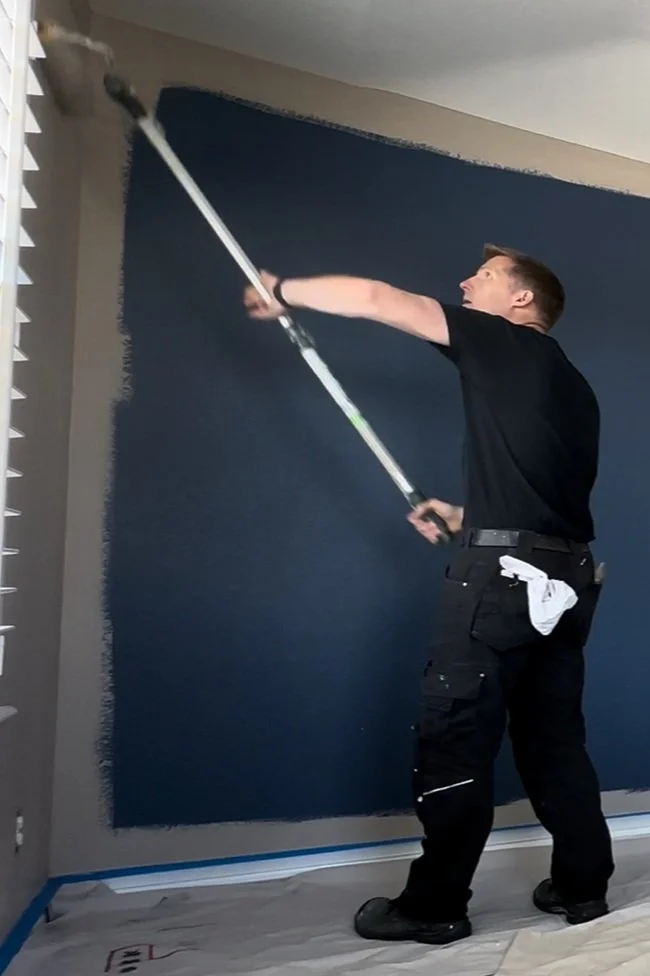
✅ Use an Extension Pole for Rolling
An extension pole not only speeds up the process but also reduces strain on your arms and back. It provides better control and even pressure when applying paint to textured surfaces.

✅ Remove Wall and Ceiling Fixtures Before Painting
Before you start painting, take the time to remove wall plates (outlet and switch covers), vent covers, smoke detectors, recessed light trim kits, window covering mounting brackets, thermostats, and any other wall or ceiling-mounted fixtures and items that can be easily removed. This makes it faster and easier to paint around these areas and provides a cleaner, more professional look. The fastest way to cut around a wall plate is to remove it; watch this short video to see what we mean.
✅ Keep a Wet Rag Handy for Patching Cleanup
When patching small holes, wipe excess patch material around the repair area with a damp rag. This prevents over-smoothing the texture and helps the patch blend in seamlessly with the surrounding wall. Watch the video below in the “Don’t Overpatch Small Holes” for an example.
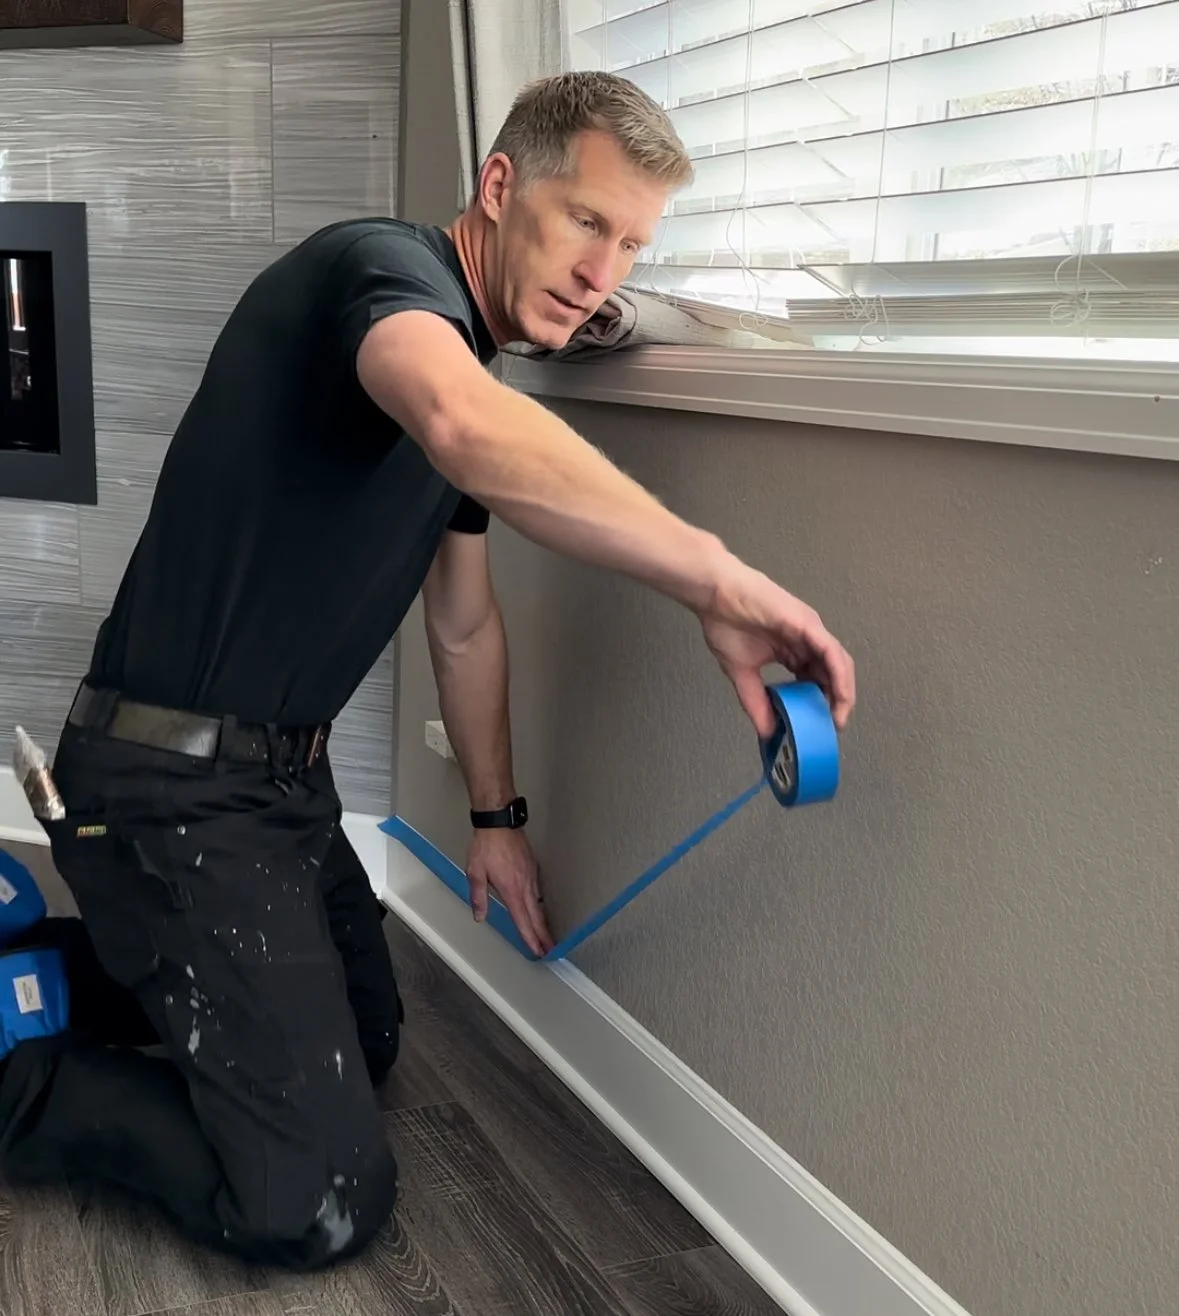
✅ Always Use Tape to Protect Baseboards
Rolling textured walls tends to create more splatter than painting smooth surfaces. Cover baseboards and ledges with tape and/or masking paper to protect them from excess paint droplets; and keep cleanup minimal. It is also best practice to make sure floor protections (clothe tarps or rosin paper) has the floor completely covered by all walls.
✅ Press Tape Down Extra Firmly
When using painter’s tape along trim and baseboards or when painting an accent wall, press it down firmly to seal the edges into the texture. This helps prevent paint from bleeding through crevices, ensuring clean lines when the tape is removed.
The Don’ts of Painting Knockdown Texture Walls
❌ Don’t Underestimate the Time Required
Painting textured walls takes longer than painting smooth drywall. The extra surface area and the need for thorough coverage mean you should plan for additional time to complete the job properly.
❌ Don’t Skip Pole Sanding
Even if the texture looks consistent, skipping this step can result in noticeable blemishes and rough spots once the paint dries. A quick sand is always worth the extra effort.
❌ Don’t Overpatch Small Holes
Avoid using a large putty knife when patching nail holes and minor dings. Instead, use the smallest knife possible or even your finger to prevent flattening the surrounding texture, which can create noticeable smooth spots.
❌ Don’t Expect the Paint to Stretch as Far
Because textured walls tend to require a bit more paint, you’ll go through it faster than you would on a smooth surface. Plan accordingly by purchasing extra paint to avoid running short mid-project.
❌ Don’t Over Caulk
When caulking between the trim and walls, be mindful of how the caulk interacts with the wall’s texture. Applying too much caulk can smooth out the texture near the trim, creating an unnatural, overly even appearance. Instead, use just enough caulk to seal gaps without excessively filling in the wall’s natural crevices.
❌ Don’t Worry Too Much About Technique Differences
While textured walls require a few adjustments in your approach, the overall painting process remains the same. Focus on applying adequate paint coverage and following these do’s and don’ts, and you’ll achieve great results.
FAQ: Common Questions About Painting Knockdown Texture Walls
-
Somewhat, but not exactly. Textured walls require a little extra paint, a thicker roller nap, and more attention to detail when cutting and rolling in to ensure full coverage.
-
Pole sanding removes high spots and stray fibers that could become more noticeable once the paint dries. This step ensures a cleaner, more uniform finish.
-
Press painter’s tape down extra firmly to seal it into the texture. This helps prevent paint from bleeding through the crevices, resulting in sharper edges. It also helps when free hand cutting lines to cut in both directions with the brush.
-
Plan for at least 10-15% more than you would for smooth walls, as the texture absorbs more paint in order to get even coverage during the application process.
-
Yes, but apply it sparingly with a smaller bead and pay attention when tooling the caulk where the trim meets the walls. Too much caulk can smooth out the texture near the trim, making it look uneven compared to the rest of the wall.
Final Thoughts
Painting knockdown textured walls isn’t difficult, but it does require a little extra patience and technique. By following these expert tips, you can achieve a professional-looking finish that enhances the beauty of your home. Take your time, use the right tools, and enjoy the transformation!