How to Remove Old Wallpaper Like a Pro

Step-by-Step Guide to Removing Wallpaper
Removing old wallpaper might seem intimidating, but with the right tools and approach, you can efficiently strip wallpaper from your walls and prepare them for a fresh coat of paint. Whether you’re a DIY homeowner or a professional painter, this step-by-step guide will help you tackle wallpaper removal with confidence.
Step 1: Assess the Wallpaper
Before you begin, determine if the top layer (design layer) of the wallpaper peels off easily. Many wallpapers have a vinyl or decorative top layer that separates from the backing paper. If it peels off easily, you’re in luck! If not, you may need to very lightly score the surface with a wallpaper perforator like the Zinsser Paper Tiger to help allow the moisture applied to penetrate the design layer.
How to assess old wallpaper to see if the design layer peels off easily. It is ideal for the top layer to peel away from the backing layer of the wallpaper. Removing the design layer before applying any hot water is a best practice for easier removal of wallpaper.
Pro Tip: When using a perforating tool, press lightly—just enough to puncture the top layer of paper. Pressing too hard can create deep holes in the wall, which will need to be patched later.
Step 2: Remove the Top Layer
Prep your space by protecting your floors and baseboards by laying down plastic sheeting before you start. This will help prevent water damage and make cleanup easier.
If the top layer can be peeled away by hand, remove as much as possible. This will leave behind the backing paper and adhesive, which will need to be softened with hot water for removal.
Pro Tip: Use a 5-in-1 tool or a sharp putty knife to gently scrape at a corner or seam to help get the top layer started.
Step 3: Soak the Backing Layer
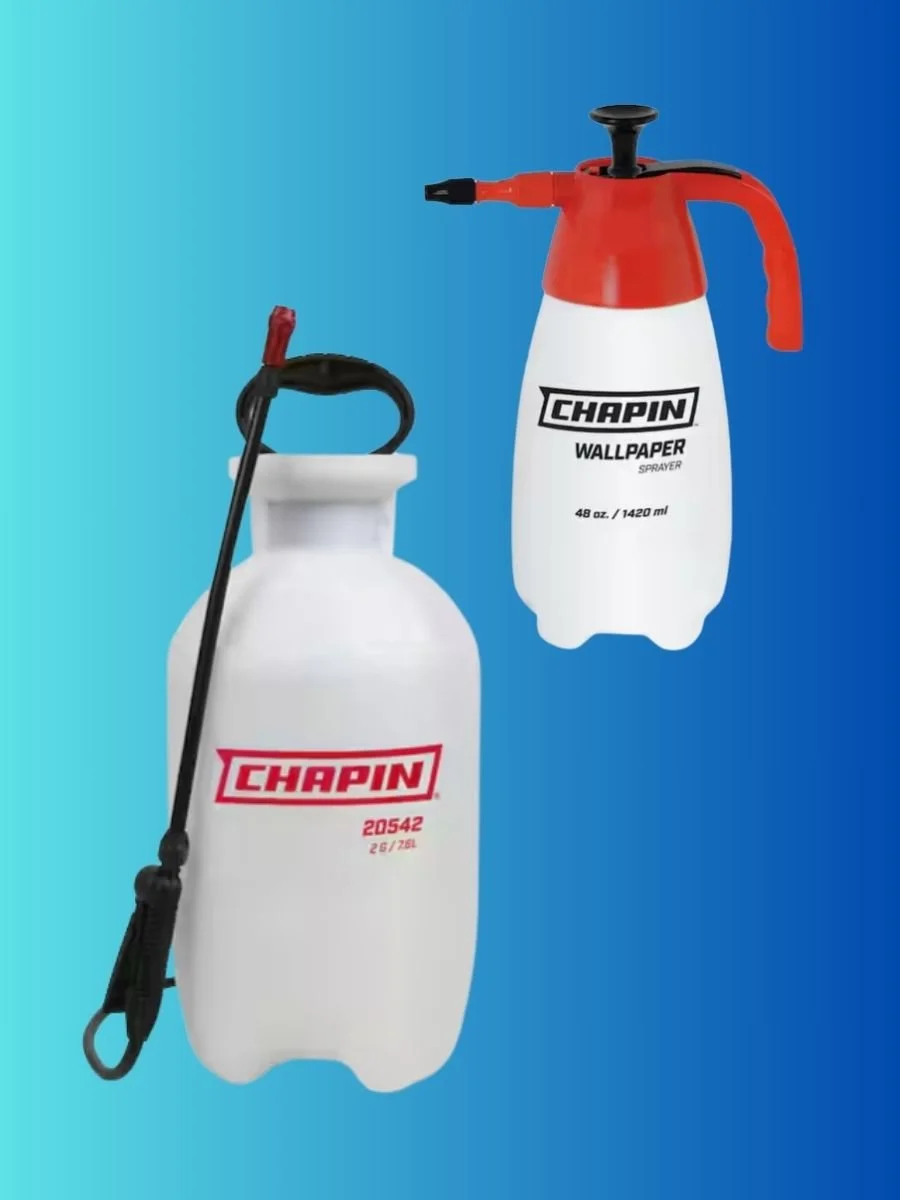
To loosen the adhesive, thoroughly soak the backing layer with hot water. Here’s how:
Fill a clean garden pump sprayer (ensure no chemical residue inside) with hot water.
Spray the backing layer generously to fully saturate the paper and reactivate the glue.
Allow the water to penetrate for 5-10 minutes before attempting to remove the backing.
Use a damp rag or sponge to help work the hot water into the backing layer if needed.
The backing will change color once saturated and is completely wet.
Keep the surface wet while you work—do not allow it to dry, or the glue can re-harden.
Caution!! Be careful with spraying water around electrical outlets and switches. Turn off circuit breaker to be safe.
Step 4: Peel or Scrape Off the Backing Layer

Once the backing is thoroughly soaked, it may peel off in large sheets (try peeling up from the bottom). If it crumbles or breaks apart:
Use a 6” or 8” patching knife to carefully scrape it off section by section.
Keep the wall wet and hold the patching knife as flat as possible to the wall in order to prevent damaging the drywall beneath.
Step 5: Remove Glue Residue
Even after the backing is removed, you’ll likely have some wallpaper adhesive glue left on the wall. To get rid of it:
Use a green Scotch-Brite Heavy Duty Scour Pad to loosen the glue.
Wipe down the surface with a sponge or rag dipped in clean hot water to wash the walls of all wallpaper paste/glue.
Change your bucket of water every half-wall or so to keep the cleaning process effective (when the water gets very milky, it is a good sign to get fresh hot water).
If the glue is extra thick, loosen it with the Scotch-Brite Heavy Duty Scour Pad first, then use the patching knife to scrape off any stubborn spots before washing the wall.
Step 6: Dry and Prep for Painting
Once the walls are clean:
Allow them to fully dry before proceeding (using a fan can help speed up the process).
Inspect for any damage. If you notice torn drywall, allow it to dry completely, then do a light pole sand to smooth rough edges.
Prime with Zinsser Gardz if there’s significant drywall damage or leftover glue residue. This seals the surface before patching.
Patch any imperfections, sand smooth, spot prime and your walls will be ready for paint!
What About Using a Wallpaper Steamer?
A wallpaper steamer is another tool that can be used to loosen wallpaper adhesive, but it’s often slow and cumbersome. It works by applying steam directly to the wallpaper, softening the glue so it can be scraped off. While it may be useful in certain situations—such as extremely stubborn wallpaper or walls with multiple layers—most professionals do not use steamers because they can be inefficient and sometimes cause excessive moisture damage to drywall. For most cases, hot water application is faster, cleaner, and just as effective.
Why Not Use Commercial Wallpaper Strippers?
While commercial wallpaper strippers are available, they can be messy and sometimes stain surfaces (especially the tinted ones). In my experience, hot water works just as well for loosening wallpaper glue without unnecessary complications or additional cost.
By following these wallpaper removal steps, you can efficiently remove old wallpaper, prep your walls properly, and get them ready for a flawless coat of paint!

Wallpaper Removal - Standard Operating Procedure (SOP)
If you are a professional painter or have a professional crew and would like to share this process with them, download a free copy of our Wallpaper Removal SOP. Make a copy of the spreadsheet and adjust the steps accordingly to make it your own if you wish. Or if you are a DIY homeowner, download the same SOP in a PDF format for easy printing.
Thanks for reading and best of luck with all of your future wallpaper removal projects!