
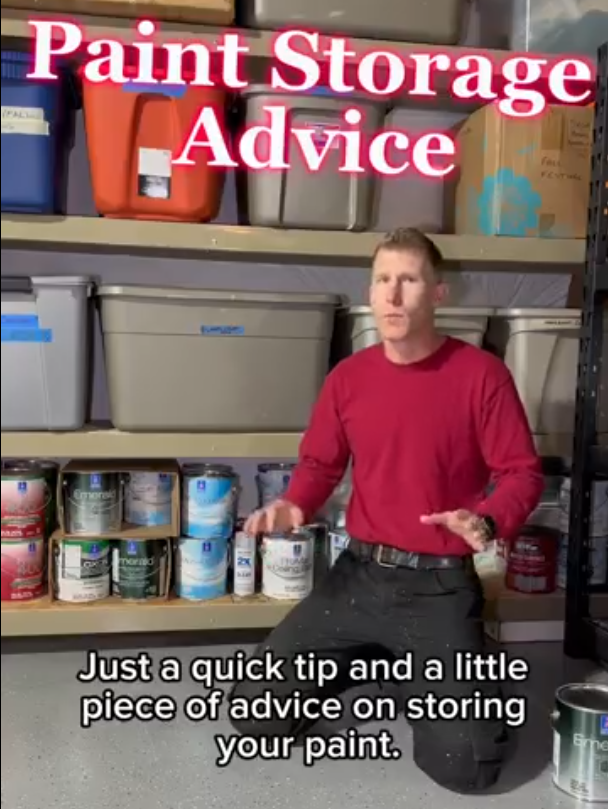
Where and How to Store Your Touch-Up Paint
When was the last time you had to touch up the paint in your home? Maybe your son decided to launch a spaghetti-covered fork at the kitchen ceiling, or your dog found the front foyer baseboard to be the perfect teething toy. Perhaps you hung a picture in your living room, only to realize the original placement was way too high—leaving an unsightly anchor hole above your favorite piece of artwork. These are everyday mishaps that call for a quick touch-up. But if you haven’t stored your leftover paint properly, what should be a simple fix can turn into a much bigger and costlier project.
The Best Place to Store Paint
The first rule of touch-up paint storage? Keep it inside—either in a basement or an upstairs storage closet. If you’re storing it in the basement, make sure it’s up off the concrete floor, ideally on a shelf a few inches off the ground. Avoid the garage! In cold climates, paint can freeze, ruining its consistency. In hot climates, extreme temperatures can also break down the paint’s effectiveness. To keep your paint in good condition, always store it in a temperature-controlled space.
How to Keep Paint Fresh Longer
Once paint is exposed to air, its shelf life starts to decline. The best way to extend its usefulness is to transfer leftover paint to the smallest possible container and seal it tightly. Over time, the ingredients in paint separate—heavier raw materials sink to the bottom while the liquids rise to the top. To combat this, we recommend hand-shaking each can every six months, or at the very least, once a year. A great reminder is to do it when you change the clocks—just like checking the batteries in your smoke detectors.
Labeling Paint for Easy Touch-Ups
Even if you store your paint correctly, it won’t help much if you can’t remember which paint goes where! A simple but often overlooked step is labeling each can at the time of use. Most paint stores will add a label with the color name, number, date, and product information, but they won’t note which room or surface the paint was used for.
Before opening the can, take a moment to write down:
The room name (e.g., “Master Bedroom”)
The surface it was used on (e.g., “Walls,” “Trim,” “Ceiling”)
The paint finish (e.g., “Eggshell,” “Semi-Gloss”)
Write this information on both the lid and the side of the can (preferably on the side you won’t be pouring from). This small step can save you major frustration down the road!
Keeping a Digital Paint Record
Want to take your paint organization to the next level? Keep a computerized record or spreadsheet with details of every paint color used in your home. That way, even if your stored paint goes bad, you’ll have an exact record of the color, product, and location for easy reordering. Click here to download a free Paint Record/Info Sheet—a handy tool for tracking your home’s paint colors. If you ever hire a professional painter, they’ll thank you for having this information on hand before they start your project.
By following these simple steps, you’ll ensure your touch-up paint is always ready when you need it—saving time, money, and frustration. A little organization today will make all the difference in keeping your home looking fresh and flawless!