
How to Paint a Room Like a Pro
Want to Paint a Room Like a Pro? Here’s Everything You Need to Know
Painting a room may seem simple—just grab a brush, roll on some paint, and call it a day, right? Not quite. A flawless, professional-looking paint job requires planning, the right tools, and proper technique. Whether you're refreshing a bedroom or giving your entire home a new look, these expert painting tips will ensure your next project goes off without a hitch.

Step 1: Choose Your Color and Gather Supplies
The first step in any painting project is selecting the perfect color. We used Sherwin-Williams Cashmere Eg-Shel in SW-2873, Water Cracker, a stunning shade that brings warmth to any space. Once you've chosen your color, gather all necessary materials, including:
High-quality paint (consider durability and finish options)
Paint rollers, brushes, and trays
Painter’s tape (such as 3M Scotch 2090 Safe Release Blue Tape)
Drop cloths or tarps
A pole sander with 80-grit sandpaper
A cordless drill for removing wall plates and vent covers
Patching materials for wall imperfections
Planning your painting timeline is just as crucial—make sure you set aside enough time for prep, painting, and drying.
Like Video? Watch the Full Video Here: How To Paint a Room Like a Pro
Step 2: Prepare Your Space for a Smooth Process
Preparation is key to achieving that professional-grade finish. Start by clearing out the room or moving furniture to the center and covering it with drop cloths. Then, follow these steps:
Clean the surfaces: Dust and vacuum baseboards to remove debris.
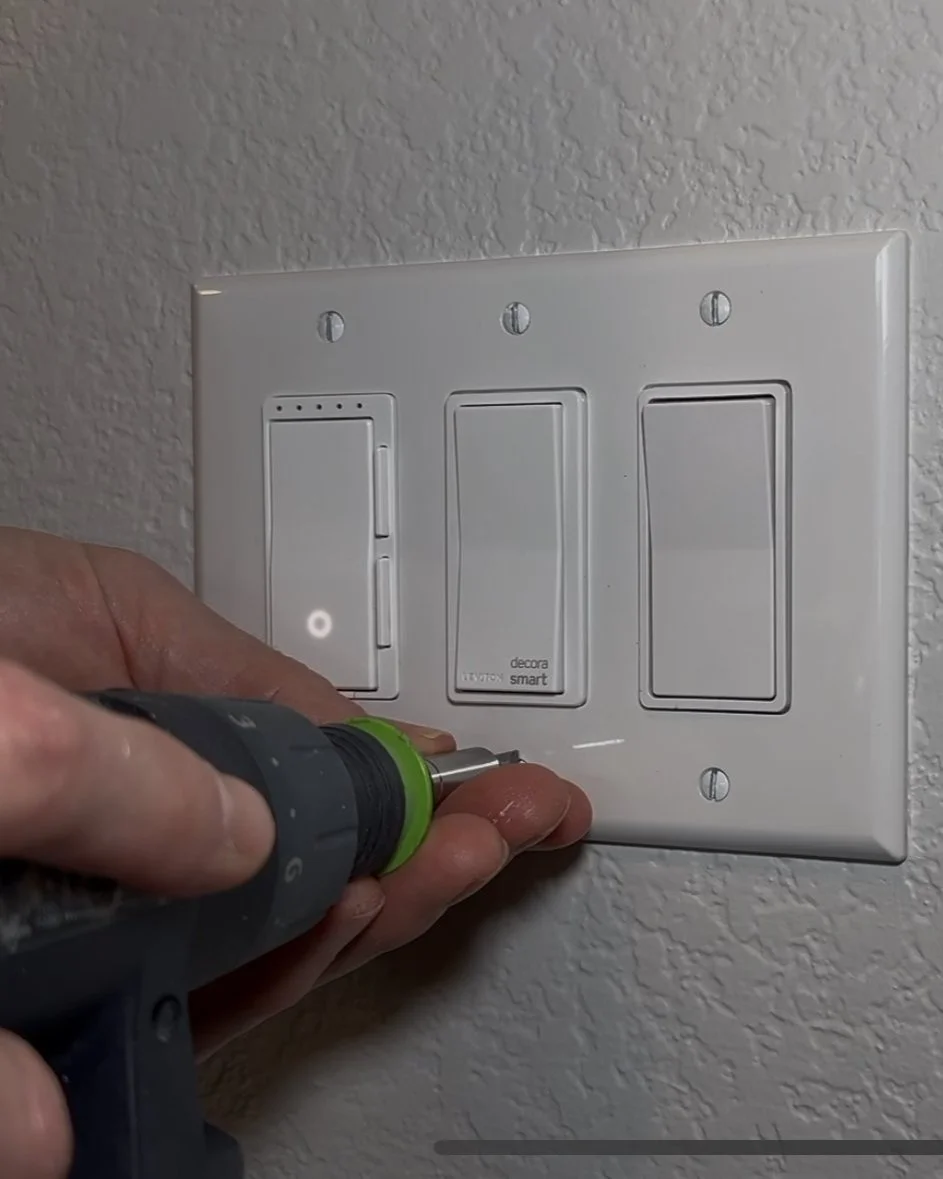
Remove outlet covers and vent plates: A Festool Cordless Drill CSX makes this job quick and easy.
Patch and sand: Use USG Sheetrock EasySand 20 Minute for a smooth, even surface.
Tape off trim and baseboards: This ensures crisp, clean lines when painting.
Pole sand the walls: A Wooster AeroSander with 80-grit sandpaper helps smooth out imperfections for even paint application.
Step 3: Master the Painting Process
Now that your space is prepped, it’s time to paint! Follow this tried-and-true technique:
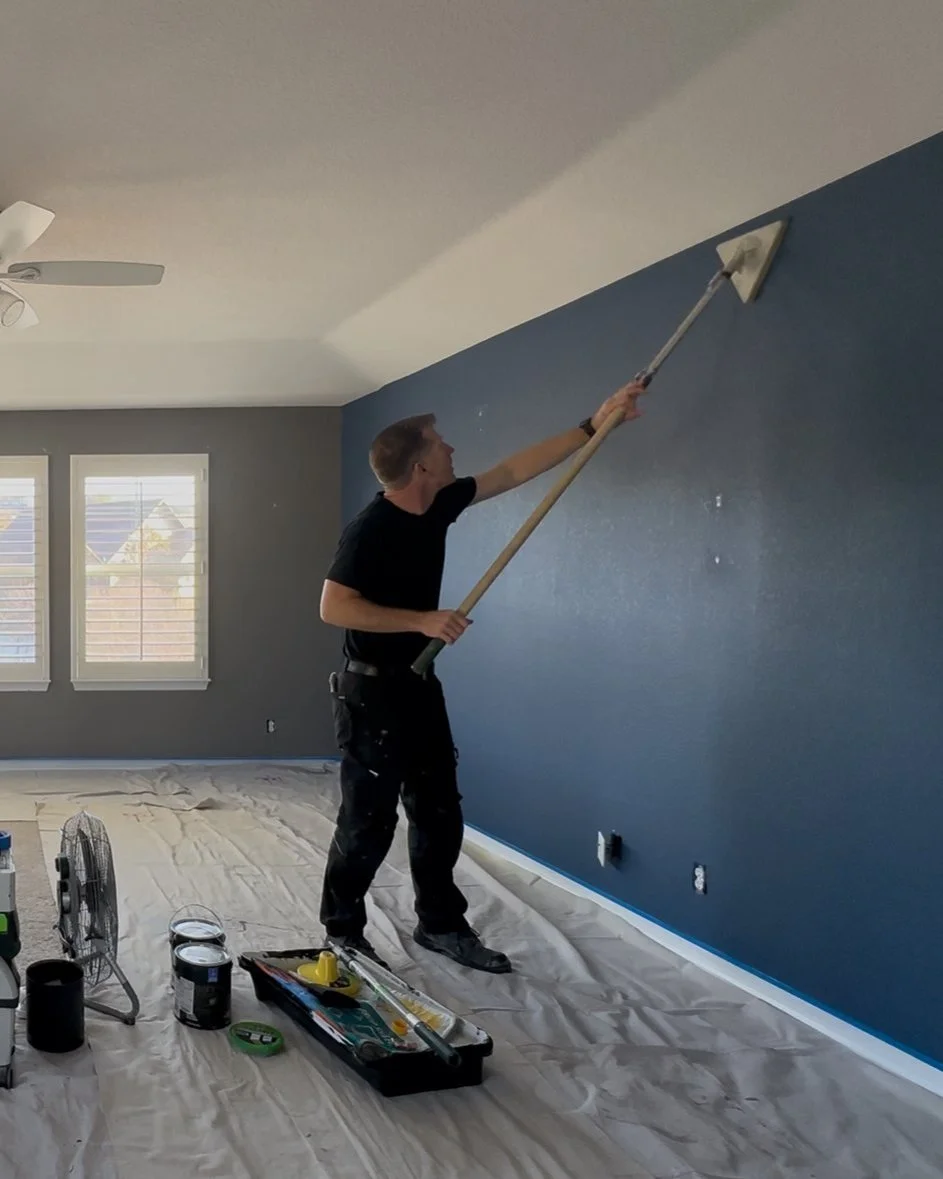
Cut in around the edges – Use a high-quality brush, such as the Purdy 3" Pro-Extra Glide Brush, to paint along the ceiling, trim, and corners.
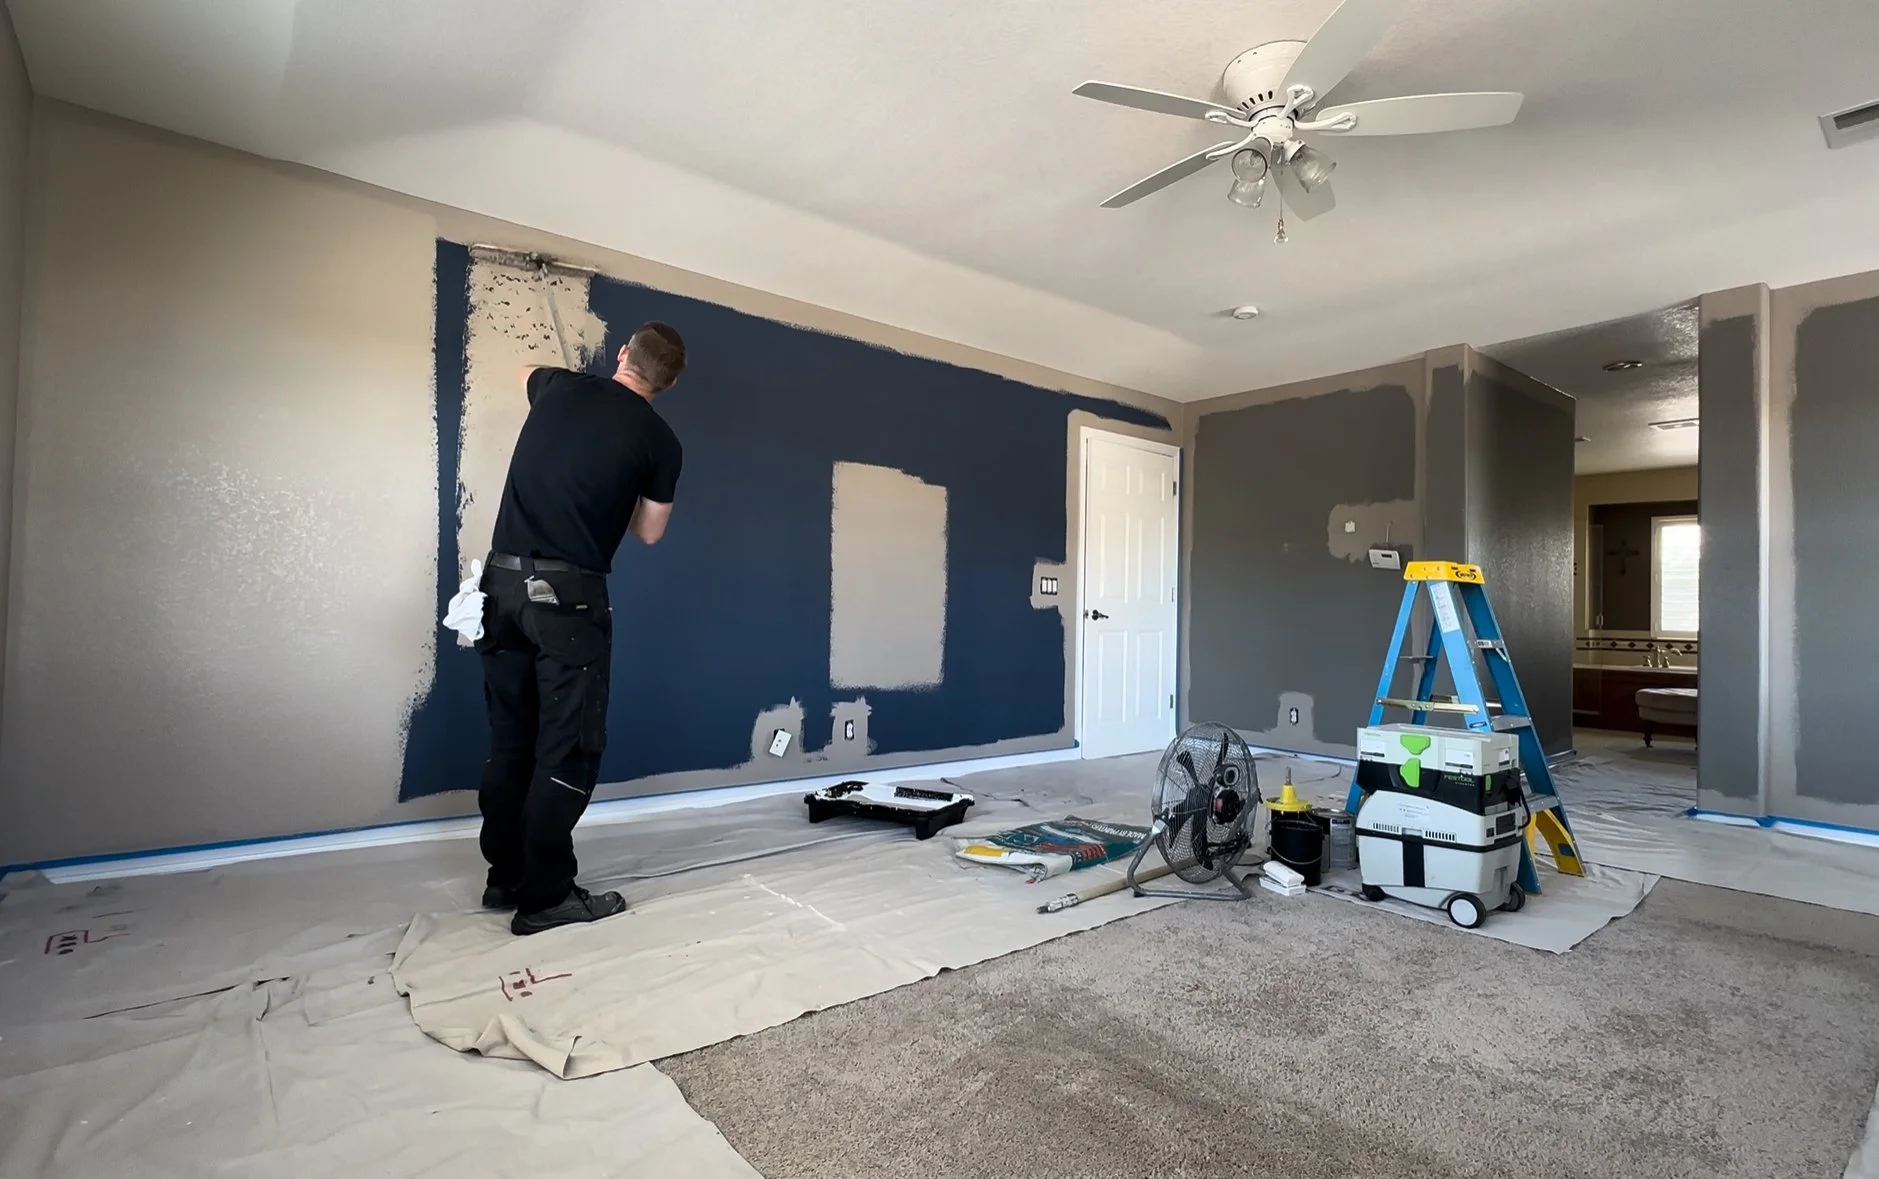
Spot prime patched areas – This prevents patches from showing through the final coat.
Roll the walls – An 18" roller with a 3/4" nap, like the Purdy Collosus Roller, covers more area faster and ensures even application.
Apply two coats – Allow the first coat to dry completely before applying the second. Using a fan can help speed up the drying process.
Pro Tip: Keep your roller from drying out by using a Kovrd Paint Bag to cover your paint tray when not in use!
Step 4: The Clean-Up Process
A clean workspace leads to a professional finish. Here’s how to wrap up your project efficiently:
Remove painter’s tape while the paint is still slightly tacky to achieve sharp, crisp lines.
Reinstall wall plates and vent covers, being mindful of torque settings on drills to avoid damage.
Shake out drop cloths outside to remove dust and debris before folding them for storage.
Vacuum up dust and debris using a powerful extractor like the Festool Midi Extractor.
Dispose of used materials properly, including roller covers and tape.
Final Thoughts
The key to a professional-looking paint job is prep, patience, and the right tools. Whether you’re painting over smooth walls or tackling a textured surface, following these steps will help you achieve crisp lines, even coverage, and a beautiful, long-lasting finish.
Ready to transform your space? Grab your supplies and get started today!